
This is the basic setup and configuration for most of the D-Link Routers. Although for some models it may vary, about 90% of D-Link Routers have the same configuration.
Make sure that you follow every step carefully. Let’s get started!
- Open your Web Browser.
- Type in the Default Gateway Address. For D-Link Routers it is 192.168.0.1 or 192.168.0.X range. Press Enter.
- A login page will appear asking you to enter your D-Link Router Username and Password. (Default Username and Password are “admin”)
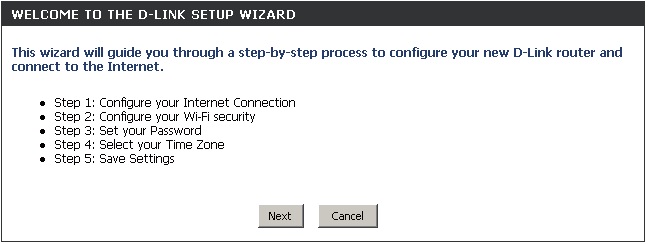
- Once you are logged in, D-Link Quick Router Setup Wizard will show up, click Next to start the process. (This wizard will only appear at first configuration. If you have already configured your router, you will need to reset it by pressing and holding the reset button on the back of the router for 10-15 seconds and then release).
- Once you click Next, the Router will perform a scan to determine the type of internet service. If the router manages to determine it, the Internet Setup will be skipped.
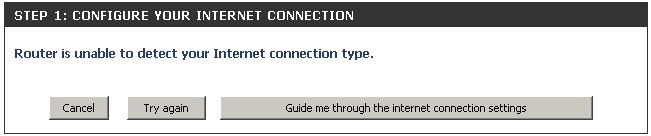
- If the router’s scan was not successful, you will be asked to select your Internet Service Type which may be:
- DHCP Connection (Dynamic IP Address) – Cable Internet
- PPPoE – DSL Internet Service (Username/Password)
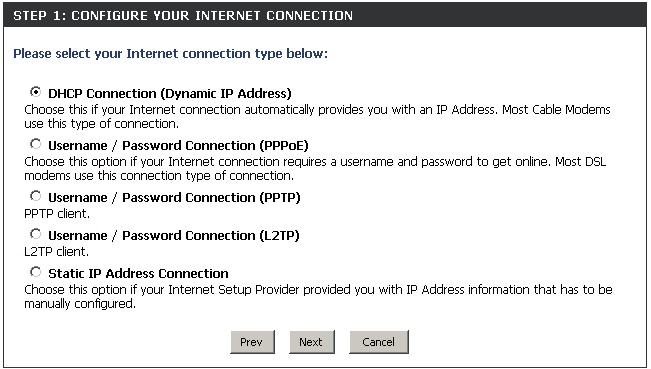
- If your connection is not Dynamic IP Address, then you should type in the Username and Password provided by your ISP.
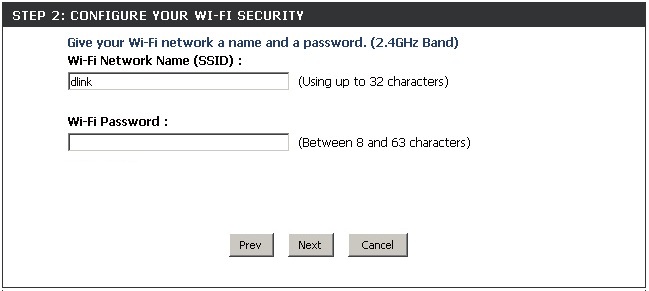
- After that, Type in the Network Name of your Wi-Fi Connection and also its password which will be used to connect to the Network.
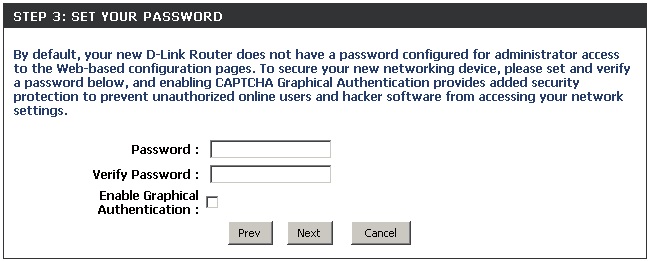
- Change your router password if you don’t want the default password for your router.
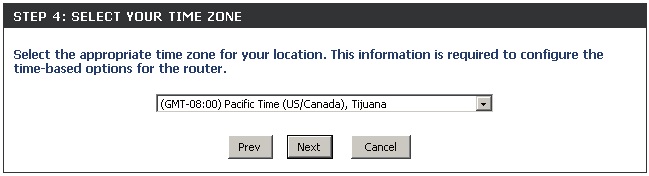
- Select your Time Zone.
- A summary of your wireless settings will be shown on the screen. Make sure that everything is correct and then hit Save.

- The router will now reboot to apply your new settings