This is the basic guide for how you can configure and setup up your Trendnet router for Wireless Connection. The options may vary according to different models, but the basic configuration is the same.
Make sure that you follow each step carefully
- Connect your PC to the Trendnet Router using a LAN/Ethernet cable.
- Open your Web Browser.
- Type in the Default Gateway Address. The default gateway address for Trendnet routers is http://192.168.10.1.
- A login page will appear and you will be asked to enter your login username and password. (The default login username is “admin” and the default password is also “admin”.
- Go to Basic > Wizard > Internet Connection Wizard > Setup Wizard.
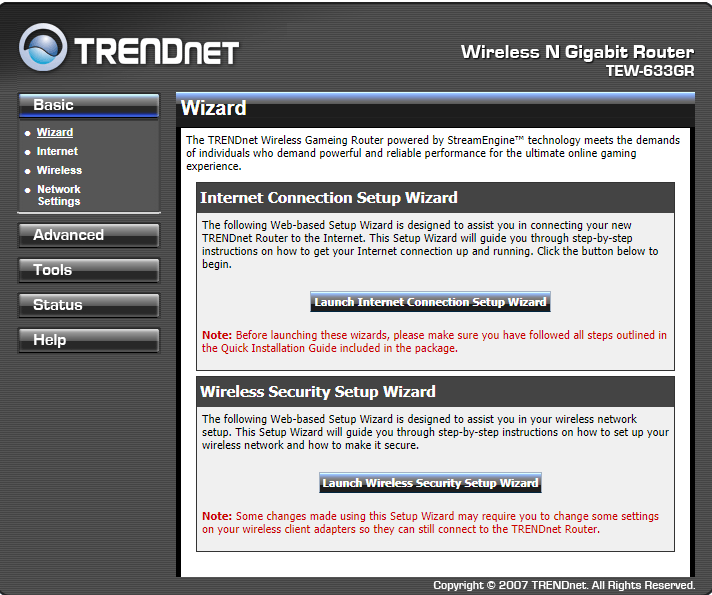
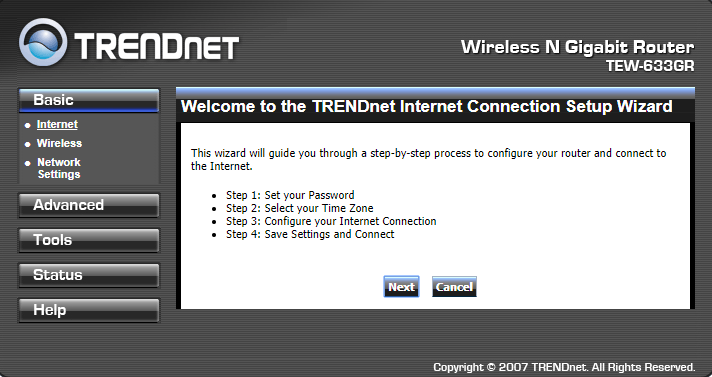
- Click on Next to continue.
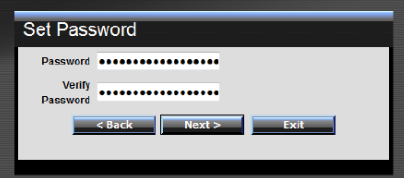
- Set the password for your Router which will be used to login into the router’s administrative panel.
- Select your Time Zone and click Next.
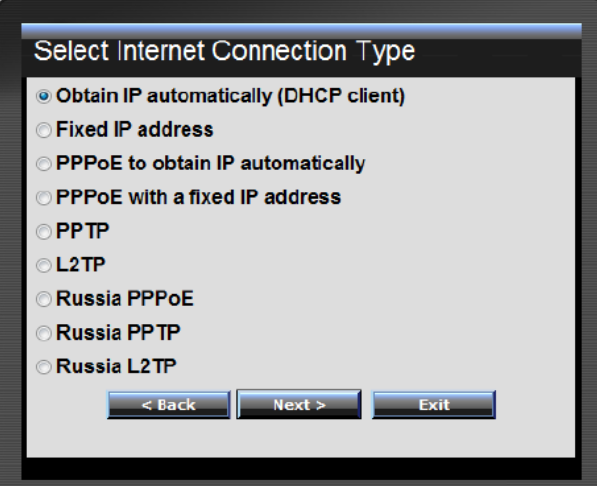
- Select your connection type. Either select it manually or choose the Obtain IP Automatically(recommended).
- Type in the SSID(Name) for your Wi-Fi connection.
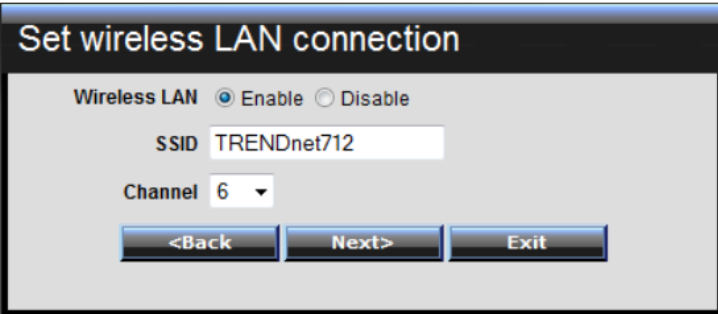
- Click Next.
- Now Reboot your router to make sure that changes are made and your Trendnet router is fully configured.