This is the basic setup and configuration for most of the Synology Routers. The Setup and Configuration may vary according to different models but most models have the same configuration.
Make sure that you follow every step carefully. Let’s get started!
- Connect your PC to the Synology Router using a LAN/Ethernet cable.
- Open your Web Browser.
- Type in the Default Gateway Address. The default gateway address for Synology routers is http://192.168.1.1:8000/ or you can visit www.router.synology.com
- A setup wizard will show up and you will be asked to set up your administrator account.
- Type in the username and password for your Router’s administrator account(which you will need to provide the next time you log in).
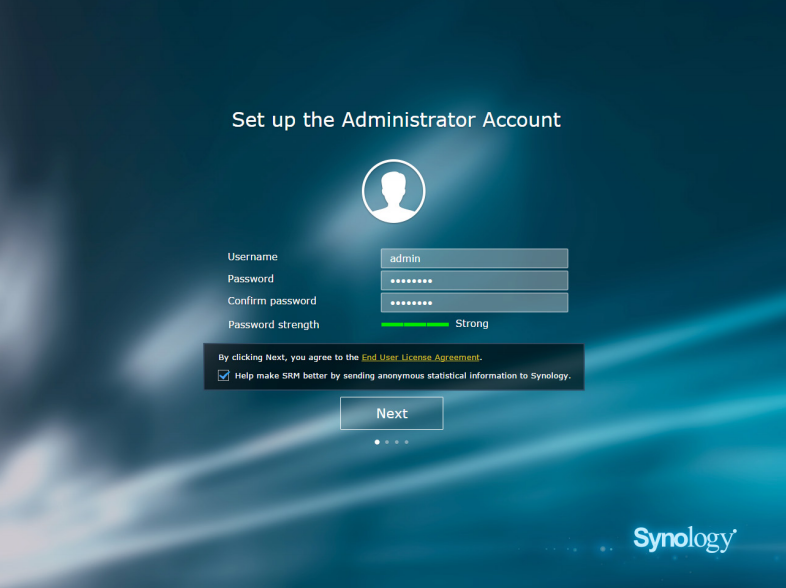
- Click Next to continue.
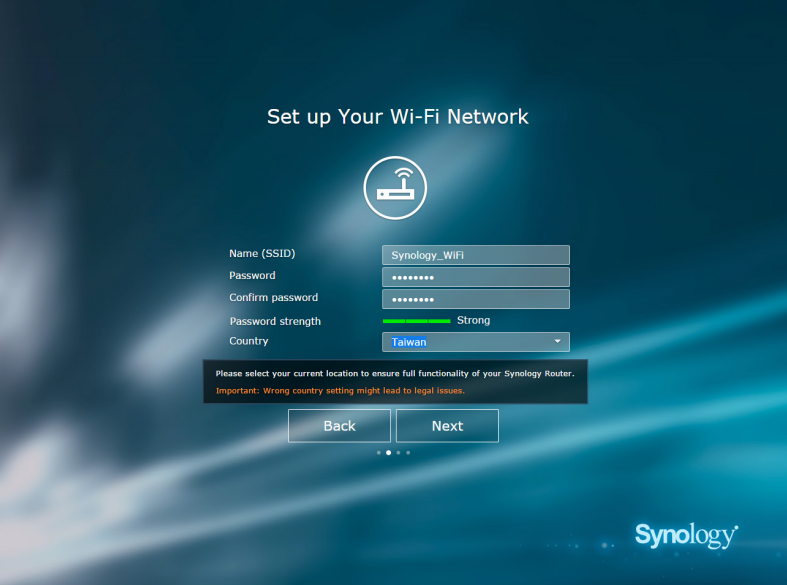
- Type in the information for your Wi-Fi connection such as Network name, Password etc.
- Click Next.
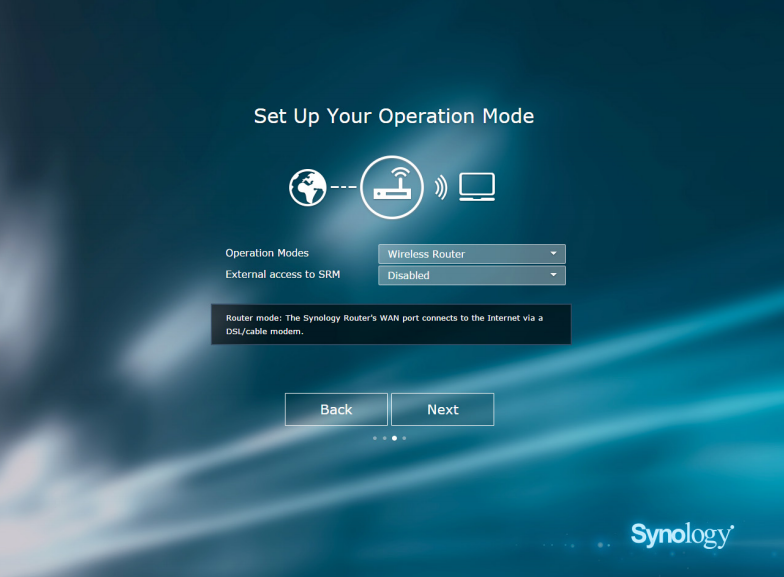
- From Operation Mode, select Wireless Router and Click Next to continue.
- Select your Internet Connection type from the list.
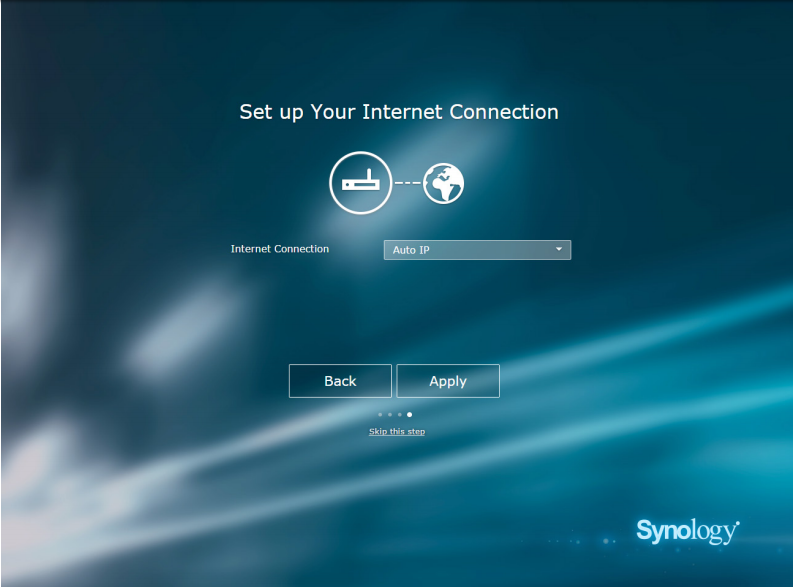
- PPPoE: Select this option if you have obtained PPPoE credentials from the ISP.
- Manual IP: Select this option if you have obtained an available IP address for use.
- Auto IP: Select this option if you rely on an ISP modem for automatic IP assignment
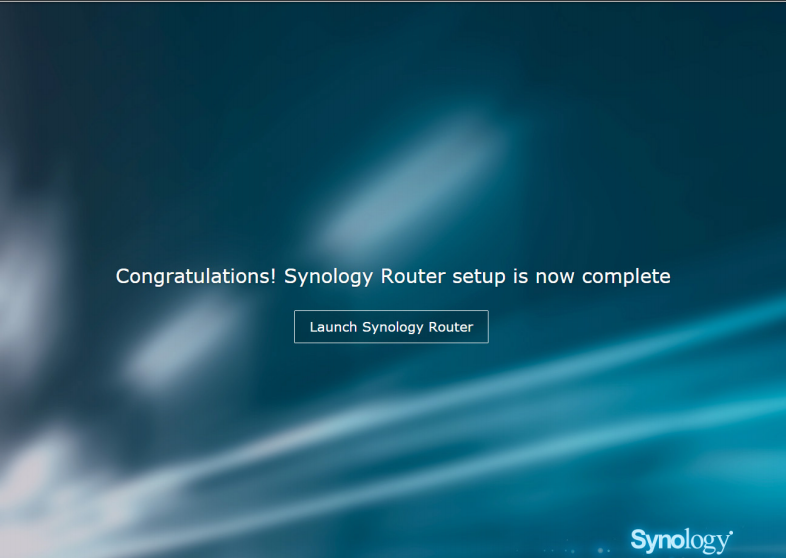
- The wizard will now set up your router which can take 3-5 minutes. Be patient.

- You have now successfully configured your Synology Router.